Sunday, August 31, 2014

Pants Options

Soooo, I've gotten bigger.  Not in an unhealthy way, but definitely in "some kind of way".  I'm going to attribute it to losing a small amount of weight last year (it was a tough year) that just happened to bring me down a size and coming back to a weight that's actually within my normal range.  Add that to the ice cream I scarfed down for the first 6 months of the year and hitting weights for the last two, the combination of food and muscle has added inches to my waistline. So yeah, all this is to say that summer's almost over and I can't fit ANY of my work pants.

I've been on the lookout for some good pants patterns.  All the rtw dress pants that I own and love are from the Limited (I'm especially mad that a pair that i bought  and love don't fit anymore, even though I only got to wear them a handful of times). Other pairs that I own have also gone the way of being entirely too snug.  To remedy this situation, I've decided that I'm FINALLY going to attempt to make pants for myself.  I've made a pair of linen pants for a male friend of mine and in terms of fitting, that was simple; make sure it fits the waist and the length and you're good.  But for me, I have curves (that I would love to show off) and I'm nervous about all the different things that can go wrong with them.  But we shall prevail!

The first step is to find a pattern that I think will look good on me!  Let's go through the options that I see available to me:


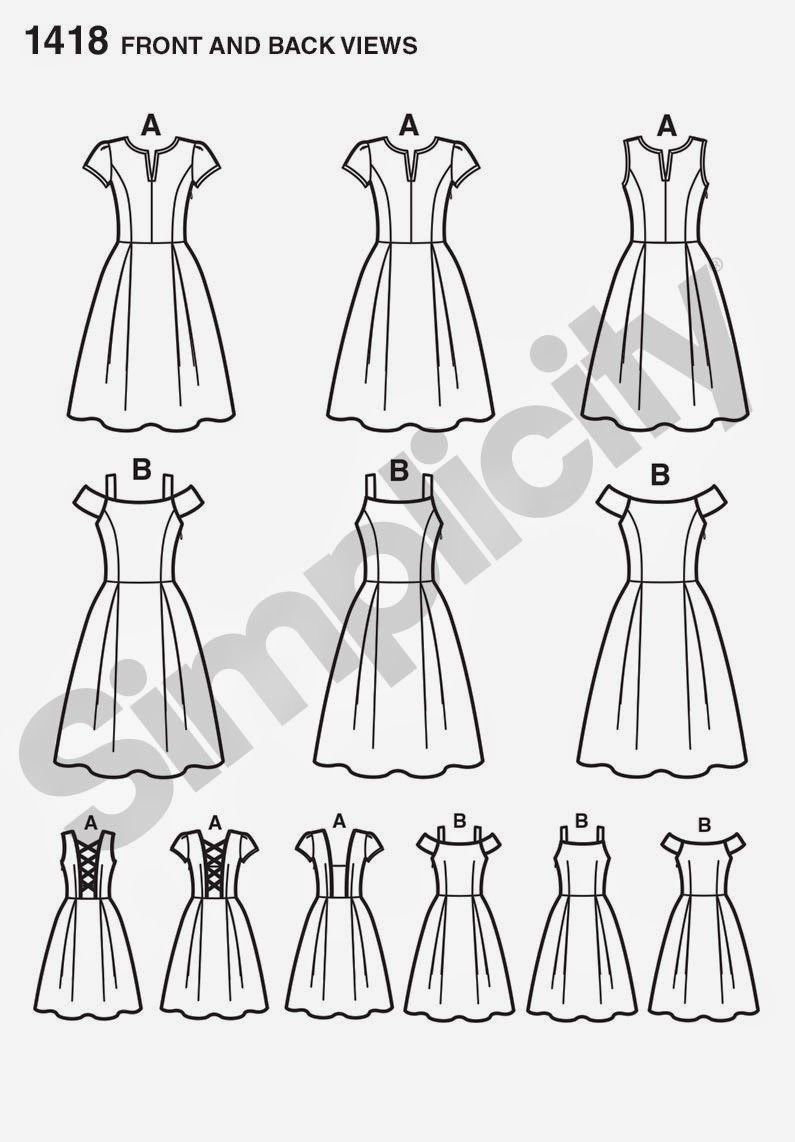
I have this pattern.  I'm not sure why I bought them when I did.  I didn't own my first pair of cigarette, side zip style of pants until this past spring (and I owned the pattern prior to that).  There was just something about that full unobstructed front face that just turned me off, but it's growing on me.  If I use something that has some stretch to it, I think this would be a nice place to start as I won't have to grow through the process of creating a fly-front.


I've been looking at this pattern for a while but I haven't bit.  I'm not exactly in the size proportions as Tasia so it would require some effort to grade the pattern (which I learned while making the Gabriola Skirt).  And I guess I just wasn't trying to make pants before.  But I've seen some good makes on this and I think I like the way it hugs the hips and doesn't look frumpy.  Frumpy is not in my vocabulary, especially not for work.


These are a straight leg trouser that I just found on Pinterest. These look decent, I haven't really found much on them but they're an option.


emma-front

The Emma Pant seems to be a business slacks type of pant.  It has an overlapped front closure (like a few of my Limited pants) and is a straight leg.  It also seems to a be a decent pattern though I haven't seen any reviews or makes of it yet.


Chelsea Pant - straight leg pant

Straight leg, wide waistband and high hip, these pants seem spiffy.  These seem like a loose fitting pant from the hip which will be good for when I don't feel like showing off ALL of my curves


A new shape in stretch pants

This has a side zip, slim leg and wide waistband.  These seem similar to the Colette Clover but just with a wide wastband which I find to be flattering.


Great basic woven pant, suitable for the office or the weekend

Sammi Seems cool.  I don't really have much more to say about her.  Just a basic business pant.  The Clothing Engineer sewed them up and they seem to fit her well.


Pull-on pants with wide waistband

This is the last Style Arc one (they have entirely too many patterns).  Straight leg, faux closure with velcro and made for stretch wovens, this seems pretty decent.  I haven't seen too many rtw with velcro and my only issue with it being on this pant is that many of my blouses seem to have too much of an affinity to velcro and it usually leads to their demise.  But I could easily change the velcro out for something that's more blouse friendly.


All in all, for work pants, I'm not pulling from a whole lot of options, which, in theory, should make it easier to find what I want, right? I left off a few that just weren't me, The Colette Juniper Pants, The True Bias Hudson Pants, and a slew of Style Arc pants (entirely too many patterns).  I stayed away from the Big 4; I honestly haven't noticed any pant patterns that have every appealed to me, they always look like they're from the 80's or early 90's and just not me.  More than likely, I'll start with the Clovers (since I already own them), but I'll be looking to try something with a fly front not to long after that.  If you have any suggestions for patterns that I've missed, shout 'em out in the comments!

Saturday, August 23, 2014

Sand Dollar Gala Dress

The Gala was great!  The dress turned out well and I was really happy with the style and some of the design elements.

I used an African Wax Print (I don't remember where I got it), but I've had it for a while.  I have a whole collection of African Prints but this is only the second item that I've made for my self with them, and I love it.  The second fabric that I used was a brocade that I bought from FabricMart while they were going through their A-Z sale.  I really like this fabric as well, it's decently lightweight for a brocade and I'm glad that I have enough for another project.  I was pleasantly surprised when I realized the two fabrics had similar patterns, hence the name "The Sand Dollar Dress"


Please excuse the lack of seam matching. But the fabric matching makes up for it!

As stated in my last post, I used Simplicity's Project Runway S0571 in a size 14.  I'm learning that I don't like the ease that's built into these patterns and I'm going to start tracing a size down for the bodice. I probably could have fixed this with my muslin but I still need to work on using my muslins for fitting.  I've noticed that I tend to use them more so to get through the sewing instructions and understand what they want me to do than for actual fitting and adjustments. 


The best design element of this is the ingenious way they did the sleeves.  To help keep it off the shoulder and keep it in it's place, there's a covered elastic band inside of the sleeve.  I made mine a little loose, so I'll have to take it in, but the theory is great and I can't wait to see how it works on other creations. 


This was my first time color blocking. The pattern already had princess seams on the front bodice but it only contained darts on the back bodice. In order to continue with the blocking on the back of the dress, I had to change the darts to princess seams.  I can't find the tutorial I used (it really took me too long to write this post), but it was pretty simple and worked well.  I also blocked the sleeves, as you can see, so that the black fabric line continued into the sleeve for continuity.  The blocking of the skirt was simple, I just cut a line straight down from the center of the pleats.  Since the two fabrics had different weights, they hung a lil differently, but the end result was still good, imho. 


All in all, it was a good night and a good make. I paired it with a tulle skirt, a wide elastic belt, bronze pumps and chunky pearls and I received lots of unsolicited compliments (the best kind).  Thanks for reading and hopefully you'll see me on here sooner than later!

All photos of me in the dress were taken by J.Lamothe Photography.  And of course had to add a pic of the ladies.


Saturday, June 28, 2014

Gala Preparation

I have a Gala to attend in a ffew weeks on July 19th.  It's for my National Society of Black Engineers (NSBE) Professionals Chapter and it's for a pretty good cause, raising money for scholarships (hence the name STEM Scholarship Gala or SSG for short).  I've been collecting African Print fabric for a few years now and have only cut into a 2, no, make that 3, of the prints twice now for small things, a band on a dress, a small dress for a baby, and a mini skirt that I can't wear often because it's mini.  I haven't expanded my wardrobe the way that I've wanted with the fabric that I've been buying so I'm trying to force myself to cut into these and get over my fear of creating something unwearable.  Most of the clothing that I pin on Pinterest are styles where people use African Print that can be worn in every day settings.  I like being able to carry small physical homages to my heritage with me and I especially like when it's something that's freakin fashionable (and I feel sexy/beautiful doing it).  One of these days I'll catalog and show you the jewelry that I've collected on my travels or been gifted and document where each piece came from.  I've been sewing a lot more recently, so I'm going to challenge myself to create 3 pieces of clothing with African Print fabric as the focal point before I buy anymore fabric (even though I'm already on a fabric diet. Darn you Fabric Mart!).

So anyways, back to the Gala.  I made a few mock ups of options for a dress.  I'm going to use Simplicity S0571 (that also goes by 1418 on the website.  Not sure why the pattern numbers are different).  Here are the line drawings for the dress:
It's part of the Project Runway collection and I was drawn to the clean lines and the soft pleats on the full skirt.  I purchased the pattern originally thinking that I could do the last 'B' version for the front and the 3rd 'A' version for the back, but now I've realized that it may be a bit difficult.  I guess I can only get sexiness in one place, the shoulders or the back, but not both.  I'll accept it this time just because I don't want to futz with it too much, but I'll always be thinking about the one that got away....

I noticed something pretty cool in the directions.  The pattern actually for an elastic casing to be created.  I was confused as to where this would come into play but it seems to be a design piece for the off the shoulder version; it gets attached to the inside of the sleeve to help secure it in place.  I'm pretty grateful for that and I'm excited to see how effective it is.

Alright, so now to get to the mock ups that I created.  I actually posted it on Instagram too (follow me at AfroSoulJah) to get some opinions.  So far, people are gravitating to the Dark one with the black panels.
I won't argue with them (and it'll be easy to shoe match).  It helps to simplify the busy print and will be a nice touch of color blocking (not sure if that's still what's "in" or not). I'll probably work the black in with some broadcloth or possibly some pique that I have in my stash.  I'll need something that perfectly compliments the weight of the fabric.  I'll also have to modify the skirt pattern as it doesn't naturally have that blocking inherent to the pattern but it shouldn't be too much of stretch on my skills.

Thoughts and opinion?  I'm looking forward to this and I'll actually make a muslin for the bodice pretty soon!

Sunday, June 15, 2014

Nettie Dress

Thanks to Heather and Wanett, I was able to get my hands on the Nettie pattern!  Thank my sewing life for bloggers, sewing meet-ups and an extremely giving and kind sewing community. I have a few things lined up for this pattern but this is the first one.  I whipped this up in a few hours, outside of taping and cutting the pattern out.  The most difficult part for me was attaching the neckline binding. I probably could have made it tighter in the shoulder area; it's a tad loose but it's still wearable. I used the binding lengths suggested by the pattern which Heather states is 90% of the length. Next time, with the low back, I'll probably reduce the percentage to 80-85%.


The main fabric is from Girl Charlee.  This was actually my first time having to deal with stripes and I think I did fairly well.  Even the arms match up!

The shelf bra works surprisingly well.  I had my doubts when I was inserting it, but I like it.  I used a swimwear lining fabric that I bought from Spandex House.  I'll be adding cups (or pockets for cups so I can switch 'em between this and future dresses) when I have time even though it's totally wearable now as long as it doesn't get too cold.  ;-)


I'm excited for this dress and I can't wait to wear it out in the wild!  Be on the lookout for the other variations!


Thursday, May 8, 2014

Practical Sewing: Nut Milk Bags

Sometimes it's nice to a do a quick project that helps you hone your skills, makes your life easier and helps you to feel accomplished. Ever heard of a nut milk bag? They're pretty amazing. It allows you to make homemade nut milk really easily.  Also, for those of you without juicers, you can easily use this to make juice as well, I know one of my friends' mothers makes carrot juice by blending carrots with water and then separating it using a mesh sieve.  It seemed tedious, having to press down with a spoon or your fingers to strain out all the water.  Using a nut milk bag to separate the water from the pulp would make her job (or rather her children's job) a lot easier. She was actually the inspiration for me making these, they're a gift to her and for all she's done for me.

I made the bags out of drill fabric.  I'm not really sure what exactly drill is, but it seems to be unbleached and made from natural cotton which is what I wanted for something that would be used for making food. I bought the two different types I found at JoAnn's, figuring that she could use the one she likes best.  The difference between the two is the amount of spacing between the weave, so one might work better on certain juices than others. Using my nut milk bag (yes, I know, it sounds funny), as a guideline, i cut each bag on the fold and only serged the vertical sides. that's one less seam for the solids to get cleaned out of. I also omitted the drawstring that was in my bag. I never use it for making milks, however, while writing this, I just realized that I use it to dry my bag by hanging it on my cupboard knobs after I've washed it. Drat!!  I'm sure she can figure out another way to dry them. But all in all, this was simple, allowed me to use my serger (for the second time) and help out someone who works extremely hard for everything.


I've been talking about these nut milk bags, but I figure I should share with you a recipe so you can use them! This is the simple recipe that I use for my almond milk.

Almond Milk Recipe:
1 cup Almonds
4 cups water or coconut water
1 teaspoon Vanilla
  • Soak the almonds for 2-8 hours. 
  • After they've soaked, place the almonds and the 4 cups of water in the blender. Blend on high power until it seems thoroughly mixed.  
  • Place the nut milk bag in a bowl and pour the mixture into the bag, being careful not to overfill.  Squeeze the bag, letting all the liquids into the bowl and keeping the almond pulp in the bag. 
  • Store your new almond milk in a jar or container, add the vanilla and shake it up!
  • The remaining pulp can be used as to bulk up cakes or pastries, or dehydrate it to make almond meal. 

Note: If you prefer your almond milk to be sweetened, just soak 2 or 3 dried dates with the almonds and add them to the blender at the same time as the almonds.

Sunday, May 4, 2014

Community

Community is important. It's what helps to shape us and who we are.  It influences our decisions, gives us support and allows us to feel at home whether things are good or bad.  I have many different communities in my life, be it work, sports, family, NSBE or just life.  What I was missing and what I found yesterday was my sewing community.

So to sum it up, yesterday was a freakin fantastic great day!  I went to a class put on by Jennifer from Workroom Social for sewing a Dolman Sleeve Blouse that was being taught by Marcy of OonaBalloona.  I've followed her blog for a while now and I've always been impressed by her style, skill and confidence.  So of course when i heard there was a class being taught by Marcy in NYC, i hopped on that train (literally) and used it as a great excuse to go fabric shopping, learn some stuff and make some new friends.

The ladies from our Blouse class. Fiona, me, Aspen, Jen and Marcy

So yeah, the whole making new friends part, that ties into the sewing community she-bang.  After the class, Jennifer hosted a fabulous sewing party/meetup/swap thing and I must say, I've never met so many great creative women in one place at one time. With over 30 people in one place and me feeling as though I've known a handful through semi-cyber stalking them through my Feedly account (fyi, i inspire myself every day by reading what people have created and showcased on their blogs, and then i feel like a "failure" for not spending enough time to create things myself), I truly had an amazing time.  WanettCarolyn, Devra, Gail, Aspen, Marcy, Fiona, Jennifer, plus the many more that my terrible memory is failing to remember. It feels good to meet the people that you read about, that you hear about and that you admire, for all they create in addition to the things that they do in "real" life.  I'm hoping that we all keep in touch (that I blog a lil more so people know I'm alive) and that I have reasons to jump on the train and get to NY more (and hopefully not spend the $$$ that I spend every time I go).

The attendees of the Social

Thanks to Jennifer and Workroom Social for putting the event on and making this possible, Thanks to everyone that came out and I'm especially thankful that I was able to meet a great bunch of people who will continue to inspire me and that have helped me to feel a sense of community for the creative side of my life!
Marcy and I

Update: Jennifer posted pics up from the party on her site. Check em out!
http://workroomsocial.com/blog/manhattan-pop-party-pictures/

Sunday, March 30, 2014

Aerial Star light

My sister knows that I sew. However, I'm a terrible sister and have never made anything for either of the two that I have (must do better!). This one particular sister also knows that I tend to procrastinate about things which had led to some trust issues about requesting things to be made, but I'm glad she changed her mind on this one.

She does aerial arts and has recently started competing. Last year she had a costume made by someone that she paid a few hundred bucks for. When I saw the video of her performance and then finally saw the finished garment, I was surprised at the level of workmanship on the garment in relation to the price that she charged. I haven't sewn with to many knits so far, but I immediately figured I could do better. So sis and I talked about it and came up with a design that would be able to work for her next completion. I was excited (yay, she's letting me do something for her!).

So in usual Afro fashion, I procrastinated, but I was able to finish the garment a week before the competition. I used Jalie 3134 and modified it so that the sides were cut out. We used a blue swimwear fabric along with a sheer sparkly black for the contrasting panels and was lined with a lovely swimsuit lining (Helenka swimsuit lining) from NYfashioncenterfabrics.com (i'm only disgruntled that the shipping cost is practically the same as the cost of the fabric, but it was worth it). The hand of the lining is great and sewed like butter when I interlined it with the blue fabric for the center bodice. I also modified the back geometry so that more of her back is exposed by reducing the rise of the lower panel. I found that the pattern runs a little small; my sister has a longer torso than me but when I tried it on myself for fitting, it fit me perfectly. The size ended up working on her but I'll take this into account next time. I also need to work on my elastic application skills. I messed up but I know the general idea of what I did wrong so that I can fix it for next time.  

I'm posting some stills from her performance, I think the costume looked great, and I was especially happy since this was the first time i'd ever sewn a garment like this. (fun fact, this is all sewn on a regular machine). Just a warning, there's some serious muscles about to be shown in these pics so try not to be as jealous as I am of her!